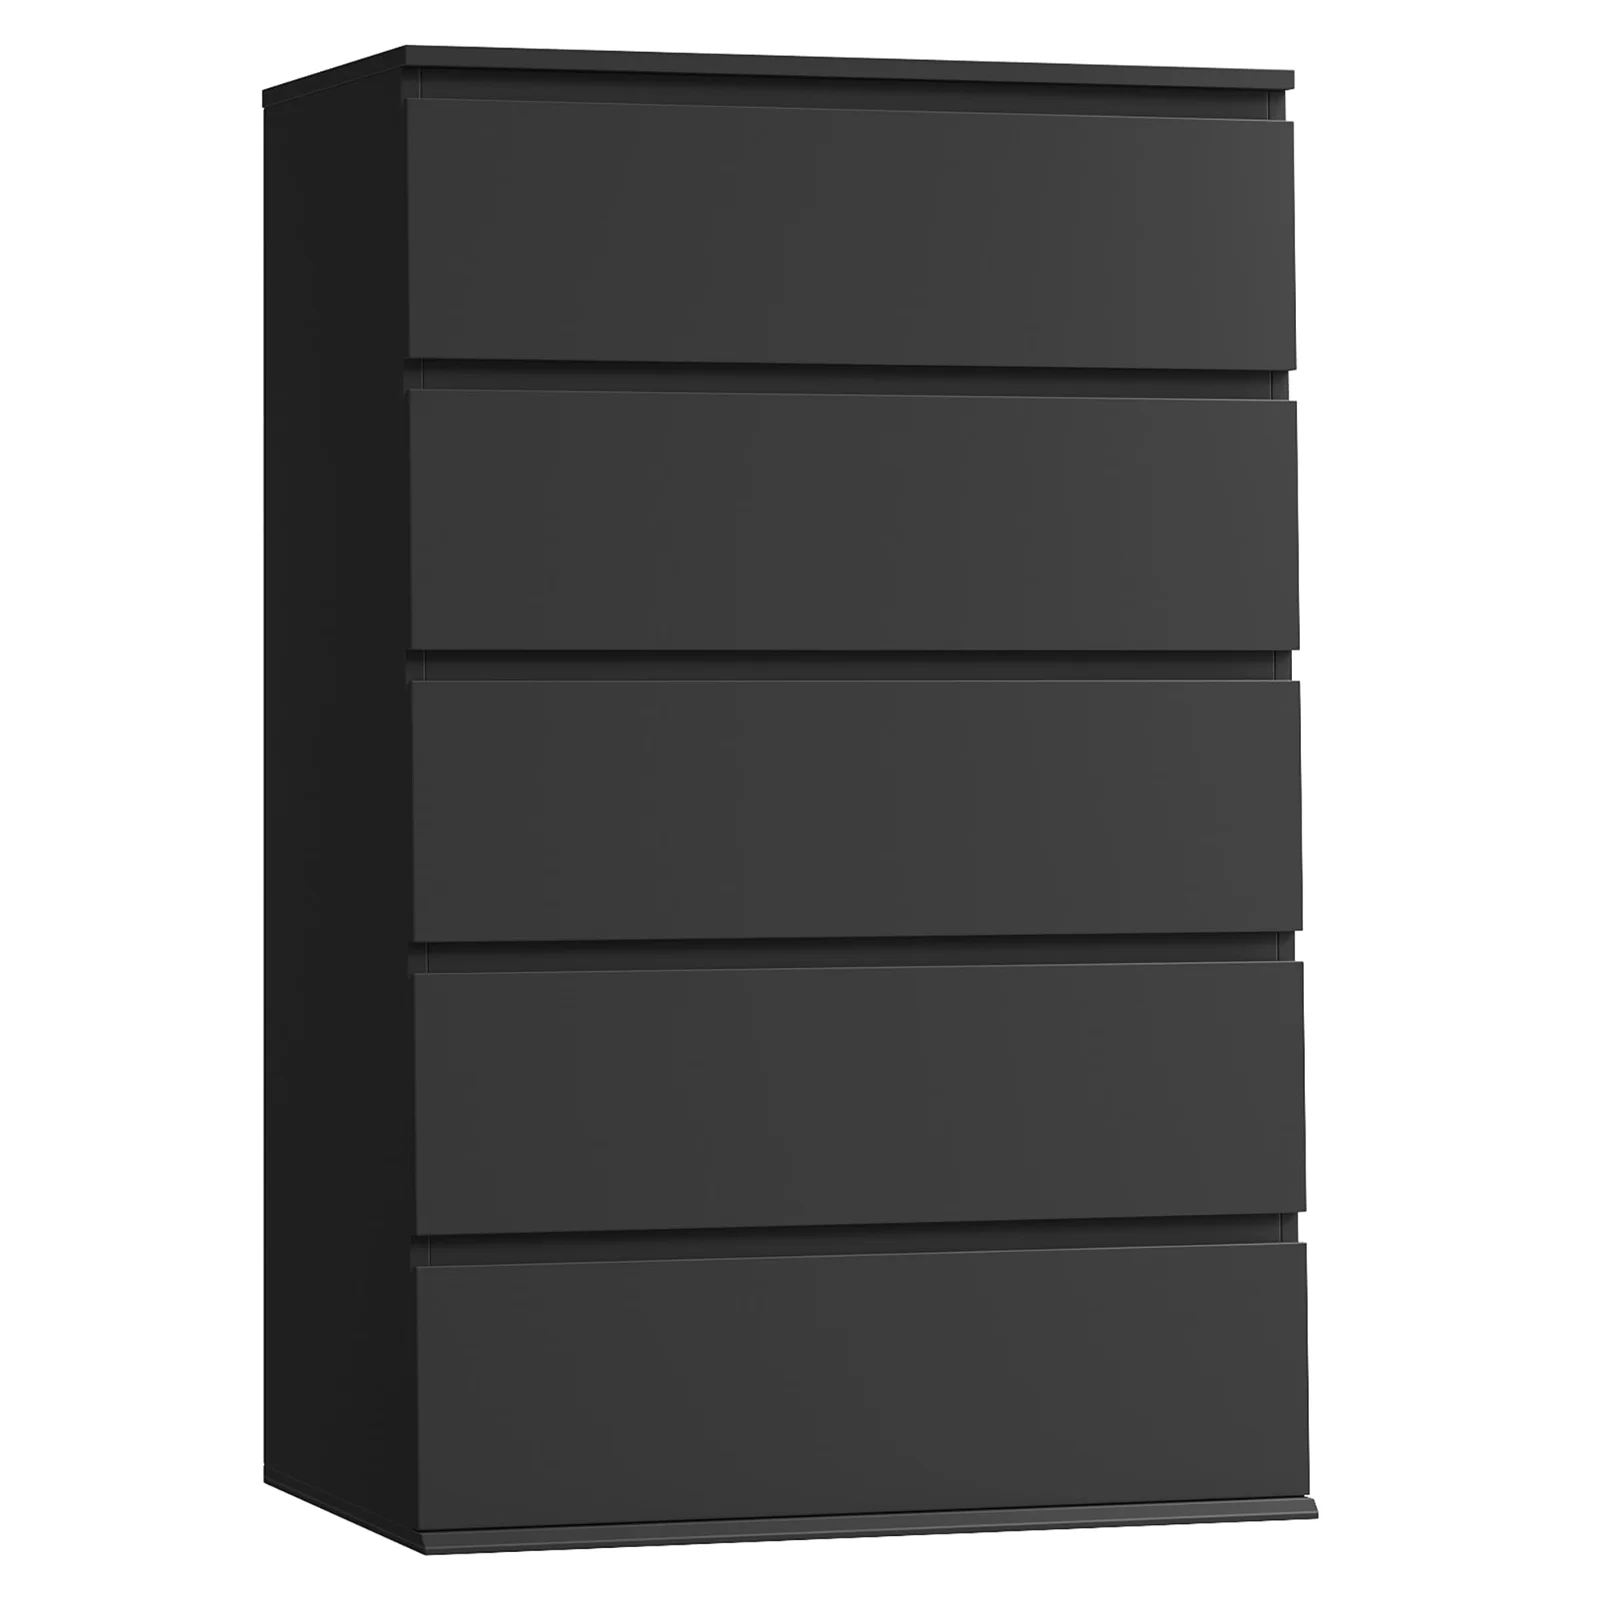
Anything in this catalogue that stands on the floor with drawers, doors or shelves belongs anchored to the wall. The consumer safety commission has campaigned on that single sentence for a decade, an anchoring kit ships with these pieces or costs very little separately, and the step takes about ten minutes with a drill and a stud finder. Follow the assembly instructions that come in the carton, and treat the anchor as part of the build rather than an optional extra.
A flat-pack build is a small project with a predictable shape, and almost everything that goes wrong in one goes wrong in the first twenty minutes. Not because the parts are difficult, but because the floor was not cleared, the bag was not sorted, and the sheet was skimmed rather than read. An afternoon that starts badly rarely recovers; an afternoon that starts properly is mostly quiet turning of a screwdriver.
We decide what goes in these cartons, and we read what buyers write about opening them. So we know the order that works, the traps that eat an hour, and the one step at the end that is not optional. None of that replaces the instruction sheet in your box, which is numbered to the parts in front of you. It sits around that sheet: what to do before step one, and what to do after the last step.
Before the carton opens
Clear more floor than you think the piece needs. A seventy-one inch case lying flat needs its own length plus room to walk both long sides, because you will be walking them repeatedly. Working in a corridor of floor barely wider than the panel is the single most common reason a build takes twice as long as it should.
Lay the flattened carton down as a work surface before anything comes out of it. Cardboard protects the finish on the panels and, more usefully, it protects the floor from the panels: a laminate edge dragged across a wood floor leaves a mark that outlives the furniture. Then get the tools out and in reach: a screwdriver that fits, a rubber mallet if you own one, and the allen key from the bag.
One more thing before opening: read the sheet through once, all of it, without doing anything. Five minutes. You are not memorising it, you are finding out whether the piece is built face down or on its back, whether there is a stage where a second person is needed, and whether the back panel goes on before or after the shelves. Those three facts decide the shape of the afternoon.
Sorting the bag is not optional either
Tip the hardware bag into something with sides: a shallow box, a baking tray, the lid of the carton. Then sort by type into groups and count each group against the list on the sheet. This takes four minutes and it prevents the single worst outcome of the day, which is discovering at step eleven that the dowels ran out at step nine because some of them went in where a cam screw belonged.
The counting also catches a genuine shortfall early, while the piece is still flat and the day can be replanned. A missing fitting found before assembly is a phone call; the same fitting found halfway up is a half-built case standing in the middle of a room until the post arrives.
Keep the sorted groups where they cannot be kicked. Fittings that end up under a sofa are, from everything we read, the most common reason a build stalls entirely.
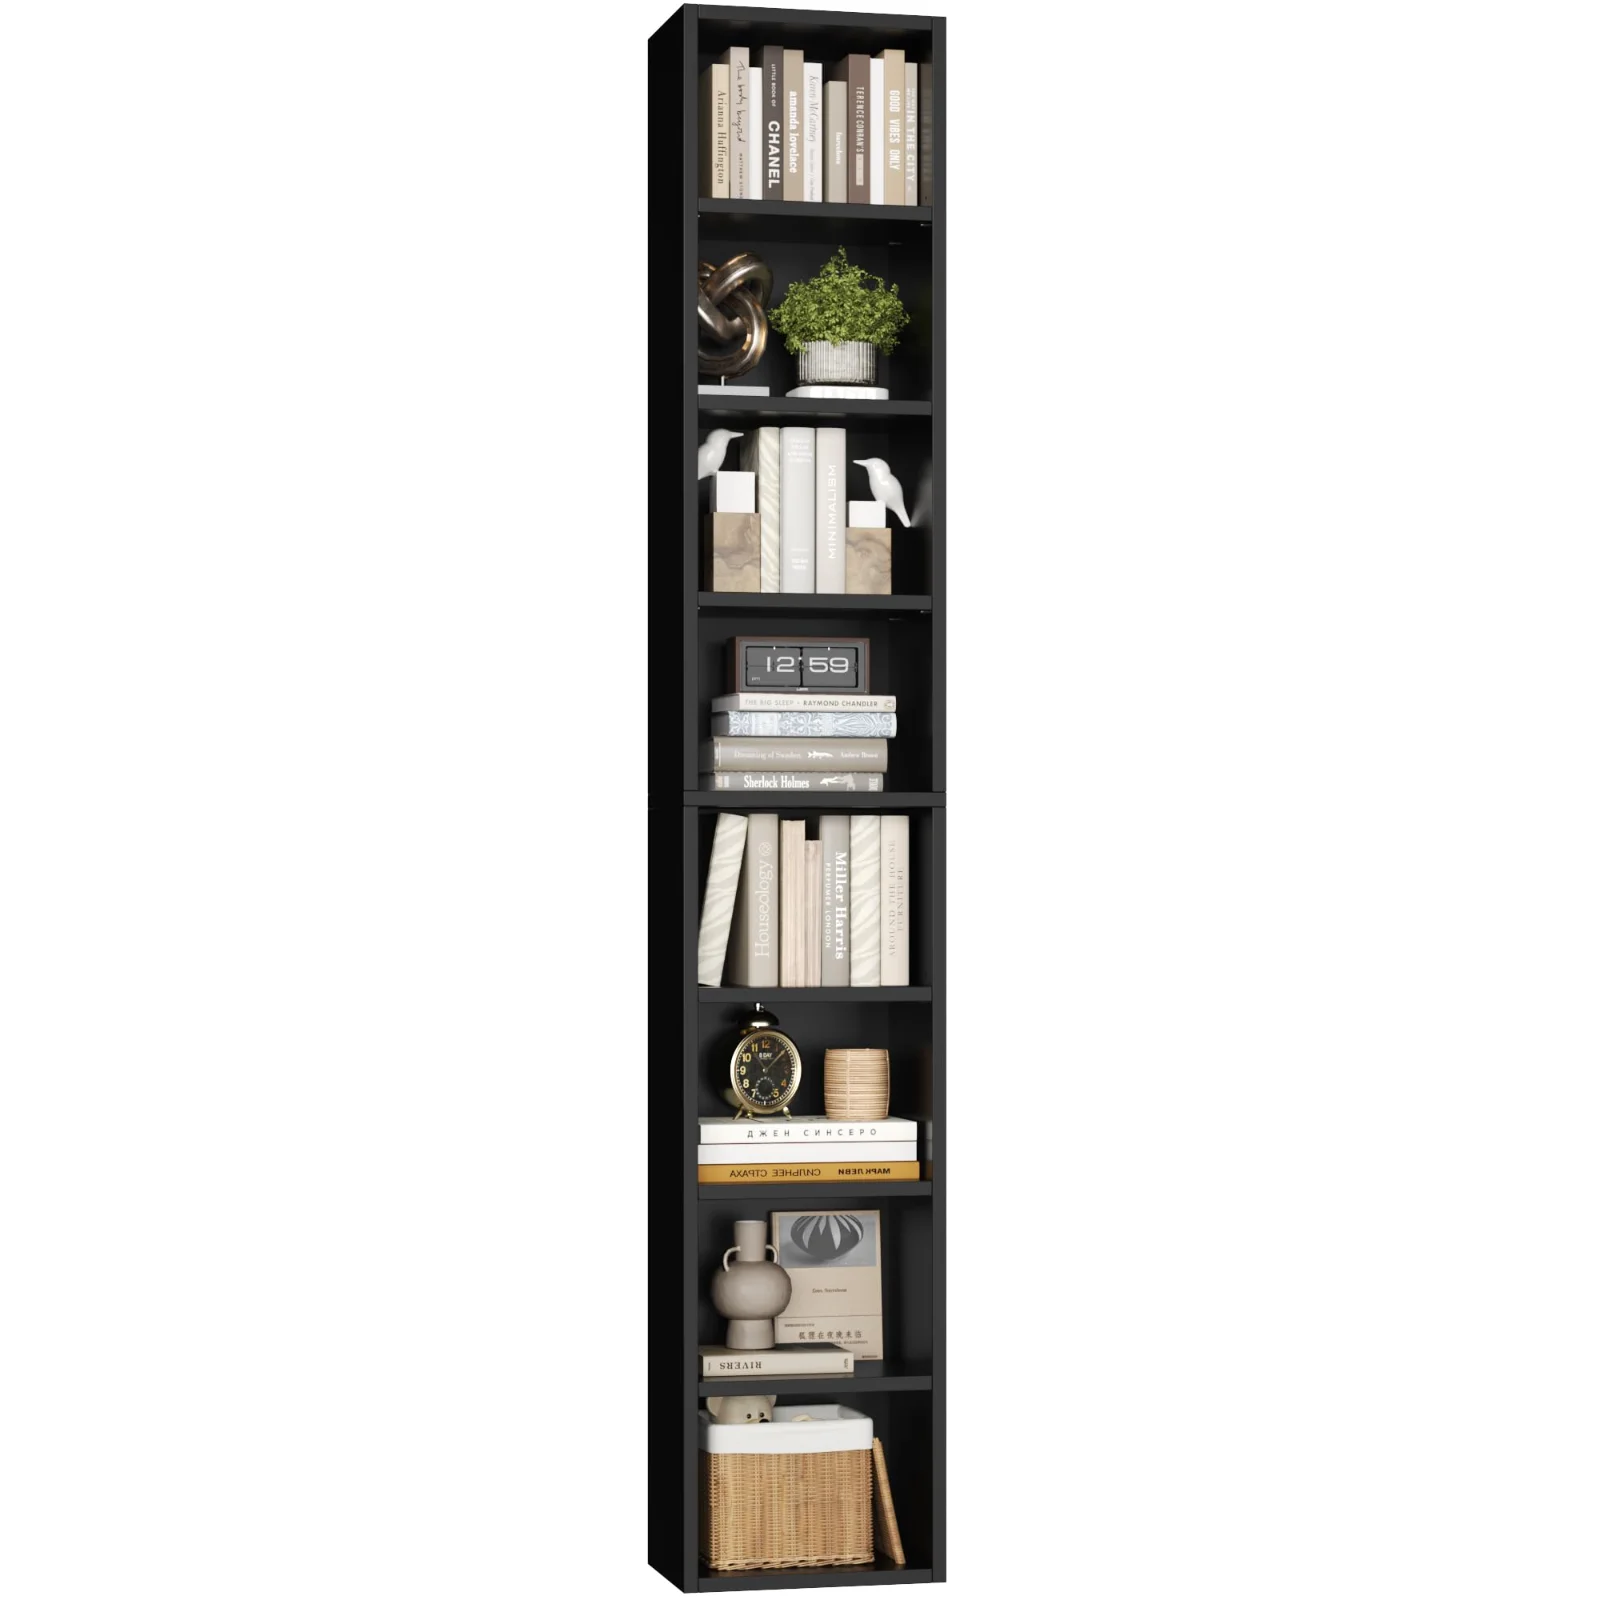
Media Tower Bookshelves, 8 tiers, Black
Media Tower Bookshelvesin 5 finishes
★★★★★ 4.5 · 1,310 family reviews
The order panels want to go together
Most cases follow the same sequence, whatever the sheet numbers it: dowels into the side panels first, then the fixed top and bottom, then whatever brings the frame square, then the shelves, then the back.
The step that carries the whole build is the squaring one, and it is usually the back panel or a set of corner brackets. Until it goes on, the case is a parallelogram waiting to happen: it will lean, and if you tighten everything before squaring it, it will lean permanently. So work loosely until the back is on. Snug every fitting enough to hold, square the case against the corner of the room or with a tape across both diagonals, then go around and tighten properly.
The two diagonal measurements are the whole trick. Measure corner to corner both ways across the open face of the case. If the two numbers match, the case is square. If they differ, push the long diagonal gently until they agree, then fix the back. Nothing else in a flat-pack build is as decisive for how the finished piece looks and how its doors and drawers behave.
How long it actually takes
Honest figures help more than optimistic ones. A nightstand is half an hour. A four-drawer bathroom cabinet or a kids toy organizer with fabric bins is around an hour. A six-tier bookcase is an hour and a half to two hours for someone who has done a couple before, and closer to three for a first build. A wide sideboard with doors and drawers is an afternoon, because the doors want adjusting at the end and that stage is unhurried by nature.
Those figures assume the floor was cleared and the bag was sorted. They roughly double when the build happens in a corridor of space with the fittings loose on a carpet, which is the whole argument for the twenty minutes of setup described above.
Add ten minutes at the end for anchoring, and another ten for levelling and adjustment. The number people underestimate is not the assembly, it is the finishing: the last twenty minutes are what separate a piece that looks built from a piece that looks bought.
The five traps that cost an hour
From the returns bench, the same handful of mistakes come up again and again, and every one is avoidable.
The first is building a panel the wrong way round. Pre-drilled holes are not symmetrical: one face is the inside, and the visible face is usually the smoother one with no exposed hole. Check the orientation before every fitting, not after.
The second is overtightening. Engineered wood board takes a screw firmly and then, half a turn later, gives up entirely and spins forever. Snug is the target. If a fitting feels like it is about to bite harder, it has already arrived.
The third is fitting the back panel before squaring. Covered above, and worth repeating because it is the trap with the longest tail: everything downstream of a crooked frame is crooked too.
The fourth is skipping the shelf pins for the middle shelves because the case seems rigid enough without them. It is rigid without them while empty. It is not rigid once it is loaded, which is the moment it matters.
The fifth is building the piece where it will not fit through the door of the room it was built in. Assemble in the room the piece will live in. Always. A finished seventy-five inch case does not negotiate with a doorway.
| Step | What happens | What it protects |
|---|---|---|
| Clear and lay out | Empty the carton onto the cardboard, sort the fittings by type, count them against the sheet | An hour lost hunting for a screw that was never in the bag |
| Read the sheet through | Once, end to end, before a single panel is touched | A panel fitted the wrong way round at step four |
| Build flat | Frame assembled on its back, diagonals checked before the back panel goes on | A case that is out of square and will never hang a door true |
| Stand it up | Base against the wall it will live at, a second pair of hands for anything tall | A joint pulled apart by a frame racking as it tips |
| Level it | Feet adjusted on the floor it will stand on, not on the carton | Drawers that slide open on their own |
| Anchor it | Bracket into structural panel and into the wall, before anything is loaded | The one failure this whole catalogue takes seriously |
| Load from the bottom | Heaviest things on the lowest shelf, working upward | A top-heavy case in a room where a child lives |
Working alone, and when not to
Most of these builds are a one-person job, and the sheet will say where that stops being true. The moment that genuinely wants a second pair of hands is standing a tall case upright: a seventy-five inch bookcase assembled flat on the floor is awkward rather than heavy, and the risk in lifting it alone is to the case rather than to your back. A frame that racks while being tipped upright can pull a joint apart that took an hour to make.
Where a second person is not available, two tricks do most of the work. Assemble the case with its base against the wall it will stand at, so tipping it up walks the base into position rather than across the floor. And leave the back panel’s final screws until it is standing, if the sheet allows, because the back is what makes the frame stiff and the frame is easier to correct while it is still slightly loose.
Cabinets, nightstands and kids pieces are almost always comfortable alone. It is the tall shelving and the wide sideboards where a second pair of hands turns twenty minutes of care into two minutes of lifting.
What to do about a damaged panel
Occasionally a panel arrives with a chipped edge or a scuffed corner, usually where the carton took a knock in transit. The decision to make immediately, before assembly, is whether the damage is cosmetic and hidden or structural and visible.
A chip on an edge that will face a wall is cosmetic and the build continues. A chip on a visible face, or any damage around a fitting hole, is not: a fixing hole with a broken edge will not hold, and building around it wastes the afternoon and the part. Stop, photograph the panel before anything is assembled, and take it up with whoever fulfilled the order. Photographs of a flat panel are far more useful than photographs of a half-built case.
The same logic applies to a fitting that will not seat. Forcing a cam screw that is not lining up nearly always means the panel is the wrong way round or the wrong panel entirely. Check the sheet before reaching for a mallet.
Doors and drawers: the adjustment nobody knows about
Cabinet doors and drawer fronts are almost always adjustable, and almost nobody adjusts them. Hinges typically carry two or three screws that move the door sideways, in and out, and up and down. Drawer runners often allow a small vertical shift. This is how a gap that looks wrong becomes a gap that looks deliberate.
Do the adjustment after the piece is standing in its final position and levelled, not while it is on its back on the floor. A door hangs differently under gravity than it does lying down, and adjusting it flat means doing the job twice.
If a door will not sit true no matter what the hinge is doing, the case is out of square and the fault is upstream. Loosen the back, square it again with the diagonals, and re-tighten. Ten minutes there beats an hour of hinge fiddling.
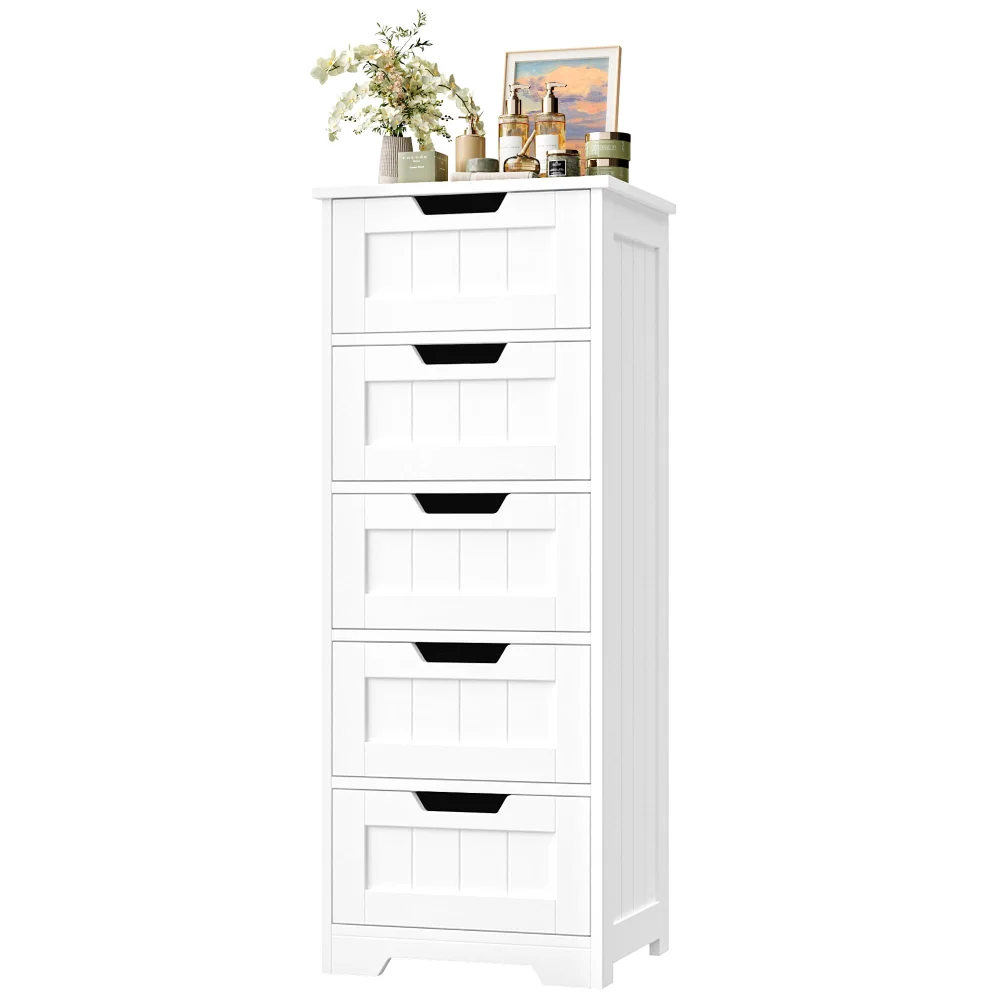
Bathroom Drawer Cabinets, 5 drawers, White
Bathroom Drawer Cabinetsin 4 finishes
★★★★★ 4.6 · 344 family reviews
Fabric bins, cushions and the soft parts
Kids pieces and toy organizers bring a stage that a bookcase does not: the soft parts. Fabric bins arrive folded flat and want their base board slotted in before they will hold a shape, and a bin fitted without its board sags into a hammock the first time it holds anything. Sling pockets are the same idea in reverse: the fabric is the shelf, and it is only taut once both rails are fully seated.
Seat cushions on reading-nook pieces usually attach with hook-and-loop patches on the underside. Line them up before pressing down, because the patches grip immediately and repositioning them tears the fabric face rather than releasing cleanly.
None of this is difficult, and all of it is easy to rush at the end of an afternoon when the case is standing and the job feels finished. The soft parts are what a child actually touches every day, so they deserve the same five unhurried minutes as the frame did.
Levelling once it stands
Stand the case where it will live and put a spirit level on the top. Almost every floor has a slight fall, and a tall case reveals it at once by rocking. Shim the low side under the base panel with anything thin and firm, then check again.
Do this before loading. A levelled empty case takes two minutes; a levelled case with sixty books in it takes an afternoon and a helper, and by then the drawers have already been sliding shut on their own for a week.
The step that finishes the build
The build is not finished when the last screw is in. It is finished when the piece is anchored to the wall. Every floor-standing piece in our range ships with the fittings for it, and the sheet numbers it as a step rather than an appendix, because the consumer safety commission has campaigned for a decade on exactly this: furniture with drawers, doors or shelves belongs fixed to the wall. The source, with the date we read it, is on our routine page.
Practically it means locating a stud, fixing the bracket to the case, and driving the screw where the stud actually is rather than where it would be convenient. Wall types differ enough that it deserves its own treatment, and the anchoring notes go through plaster, drywall and masonry one at a time.
The reason it belongs at the end of an assembly article rather than in a safety box at the bottom of a page is simple: it is a build step. Treat it as the last thing you do before loading the shelves, and it takes ten minutes. Treat it as something to get to later, and later turns out to mean never in a great many homes.
Building with children in the room
A build in a family home rarely happens in an empty room, and the two things worth planning are the small parts and the sharp edges. Cam screws, dowels and shelf pins are exactly the size that interests a toddler, which is the practical argument for tipping the hardware into a tray with sides rather than leaving it loose on the floor.
The other is the half-built stage. A case lying flat is safe; a case standing upright, un-anchored and un-loaded, is at its least stable moment of its whole life. If the build has to pause, pause it with the piece flat rather than standing, or anchor it before the break. That is not an abstract caution: an empty case is lighter than a full one and tips more easily, not less.
The upside of building in a room with a child in it is that the anchoring step stops feeling like paperwork. It is easier to spend ten minutes on a bracket while the reason for it is playing on the floor beside you.
Where to keep the sheet afterwards
The instruction sheet has a second life that most people discover too late: it is the parts list for a house move. Numbered panels, a hardware inventory and a disassembly order in reverse are exactly what a future you needs when the case has to come apart to get down a stairwell.
So keep it. Taped inside a cupboard door or slipped behind the back panel are both better than a drawer somewhere else in the house, because both stay with the piece. Put the allen key in the same place. A case that keeps its own paperwork is a case that comes apart cleanly in five years instead of being abandoned or broken.
Loading, and the week after
Load from the bottom up and put the heaviest things on the lowest shelves. This is not only about tipping, it is about how the case behaves: weight low keeps the frame settled and the doors true, weight high does the opposite in every way.
Give the shelves an honest look once loaded, too. A shelf that visibly bows under a row of hardbacks is telling you something the empty case could not: that this span wants its load spread rather than concentrated. Moving the heaviest quarter of the books to the shelf below is usually the entire fix, and it takes a minute at the moment of loading rather than a repair later.
Then leave the fittings alone for a week and check them once. Panels settle, and a quarter turn on the cam fittings after seven days is often all a case ever needs for the rest of its life. Keep the allen key with the instruction sheet, tape both inside a cupboard door, and the next tightening, or the next house move, starts from a much better place. The FOTOSOK shelves carry the pieces themselves, each card printing the height and the tier count that the measuring notes tell you to check first.
