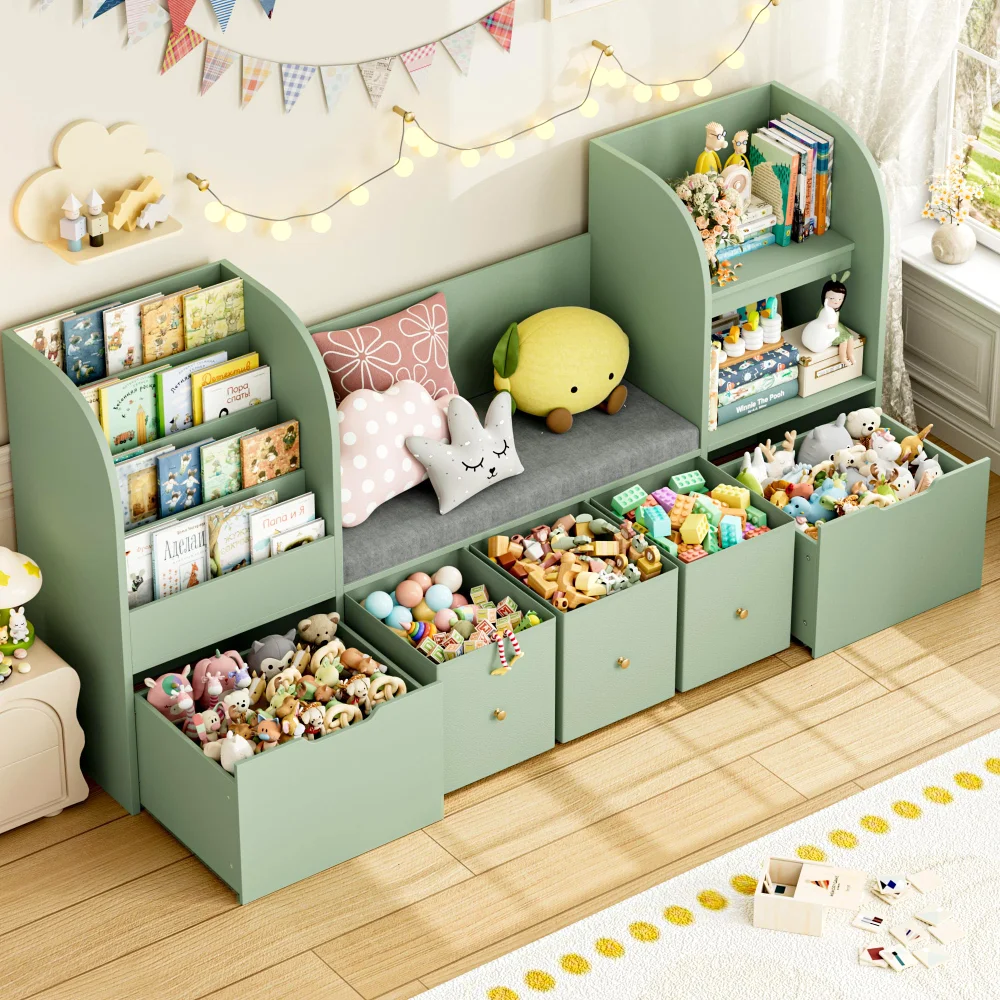
Anything in this catalogue that stands on the floor with drawers, doors or shelves belongs anchored to the wall. The consumer safety commission has campaigned on that single sentence for a decade, an anchoring kit ships with these pieces or costs very little separately, and the step takes about ten minutes with a drill and a stud finder. Follow the assembly instructions that come in the carton, and treat the anchor as part of the build rather than an optional extra.
There is one step in every furniture build that never appears in a photograph. The finished shot shows the case standing against a wall with books on it and a plant on top. It does not show the bracket behind the top panel, the screw driven into a stud, or the two minutes with a stud finder that made both possible. That step is the subject here, and it is the only part of a build we will not let a page of ours skip.
The reason is not a legal reflex. The consumer safety commission has run a campaign for ten years on a single sentence: anchoring furniture with drawers, doors or shelves to the wall prevents tip-over injuries and deaths. We read that campaign page and the federal rule beside it before writing this, and both are listed with the dates we read them on our routine page.
What tips, and why it is not obvious
A piece of storage furniture is stable when its weight sits inside its footprint. Everything that happens in a real home works against that. Drawers pull the mass forward. Doors swing the weight outward. Loading the upper shelves raises the centre of gravity while leaving the base where it was. A child pulling on an open drawer adds a force at the worst possible height and the worst possible angle.
This is why the guidance is written about a category rather than a size: it is not only the tall dresser that tips. A shorter unit with deep drawers can be closer to the edge of stability than a taller open bookcase, because the drawers move the mass and the open shelves do not. The honest rule for a household is the simple one the commission uses: if it stands on the floor and has drawers, doors or shelves, anchor it.
What the federal rule covers, and what it does not
The rule people mean when they mention furniture stability is the one for clothing storage units. It is codified at 16 CFR part 1261, it applies to units manufactured after September 2023, and it defines the category with unusual precision: free-standing, at least twenty-seven inches tall, at least thirty pounds, with at least 3.2 cubic feet of enclosed storage. Chests, dressers, drawer chests and armoires fall inside it.
The same guidance is equally clear about what falls outside: bookcases, entertainment furniture, office furniture and dining room furniture are not clothing storage units. That distinction matters for how a maker tests a product, and it is why our dresser pages carry a height and a drawer count rather than a marketing adjective.
What the distinction does not do is divide furniture into pieces that need anchoring and pieces that do not. The commission’s campaign is written about drawers, doors and shelves generally, not about one regulated category. A bookcase outside the rule still ends up loaded from the top down by somebody in a hurry, and still stands in a room where a child may one day decide the shelves are a ladder. Anchor it too.
The objection that the piece is too small to matter
The most common reason a step like this gets skipped is a judgement made by eye: this one is short, or light, or over in the corner where nobody goes. Every part of that reasoning fails the same way, because stability is about the relationship between mass and footprint under load, not about the impression a piece gives while empty in a showroom photograph.
A short cabinet with two deep drawers, both open, with a child hanging on the upper one, is a very different object from the same cabinet standing closed. A narrow media tower loaded entirely with discs carries a surprising amount of weight, all of it well above the base. And the corner nobody goes to is a corner until the day somebody puts a toy on the top shelf.
The guidance does not ask anyone to make that judgement, which is its real usefulness. It gives a category rather than a threshold: drawers, doors or shelves, standing on the floor. Applying a rule costs ten minutes. Applying judgement costs whatever the judgement turns out to be worth.
Finding the stud, which is the whole job
An anchor screw is only as good as what it goes into. In a timber-framed wall the target is a stud: the vertical timber behind the plasterboard, usually spaced sixteen inches apart and occasionally twenty-four. A stud finder run horizontally along the wall at the height of the top of the case will locate one in under a minute, and marking both edges of it in pencil tells you where the middle is.
Two habits make this reliable. Check for a second stud at the expected spacing: if you find one at sixteen inches from the first, both readings are almost certainly real rather than a pipe or a cable run. And never drill blind near a socket or a switch, because cables run vertically and horizontally from those points inside the wall.
Where the case cannot reach a stud, the anchor goes into a plasterboard fixing rated for the job rather than into bare board. A plain screw in plasterboard holds nothing that matters; a proper toggle or expanding anchor holds a great deal. The instruction sheet in the carton names what shipped with the piece, and that is the specification to follow.
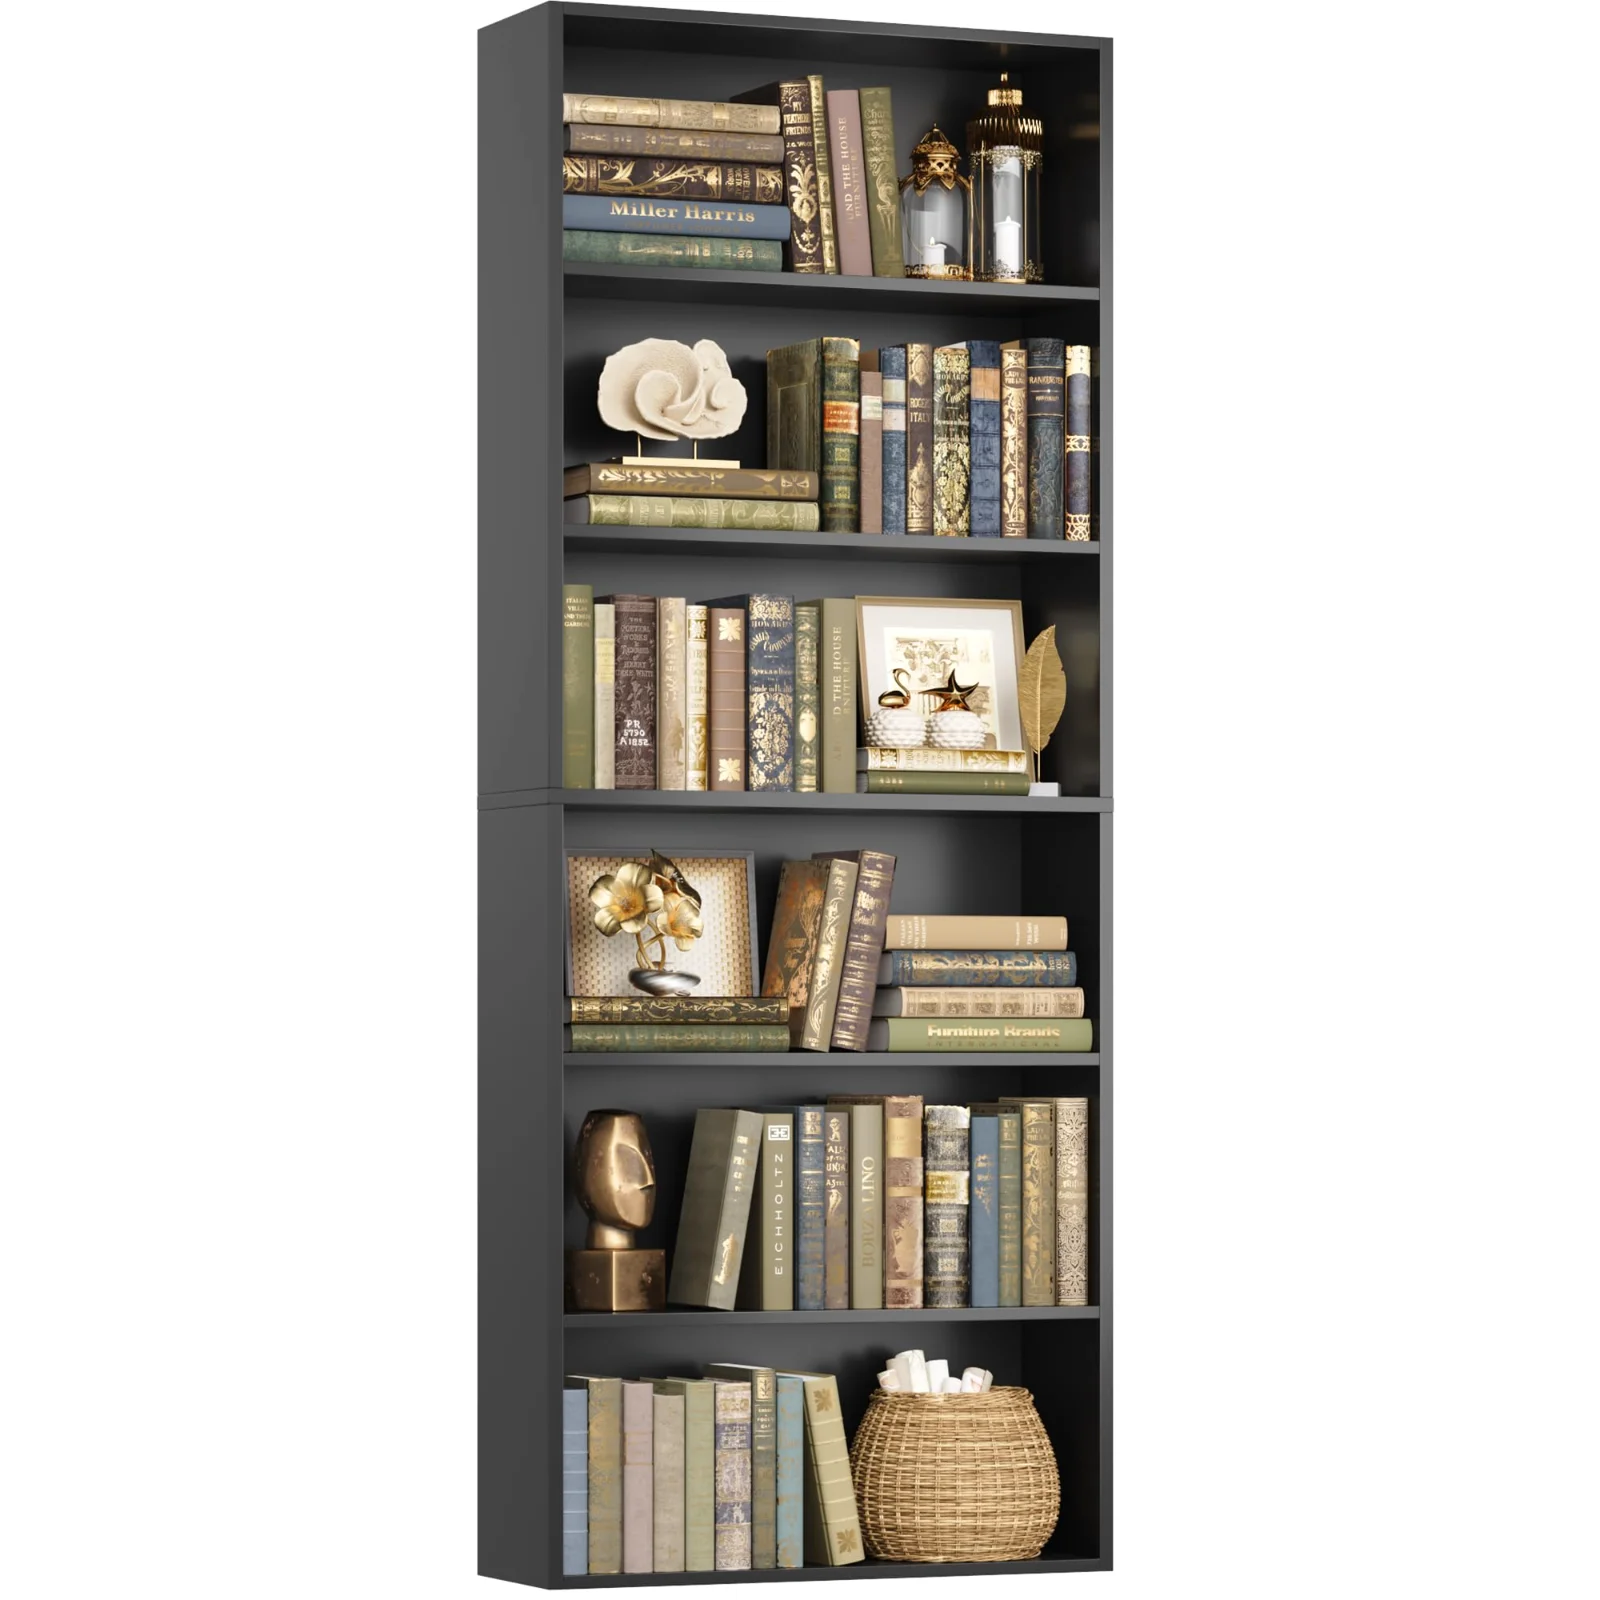
Open Bookshelves, 6 tiers, Black
Open Bookshelvesin 6 finishes
★★★★★ 4.5 · 1,781 family reviews
Three wall types, three different afternoons
Plasterboard on timber studs is the common case in newer homes and the one described above: find the stud, drill a pilot hole, drive the screw. Between studs, use the fixing that shipped with the piece.
Old lath and plaster behaves differently. It crumbles at the surface and grips well underneath, and the timber laths themselves are not a substitute for a stud. Drill slowly with a small pilot bit to avoid blowing out a crater in the plaster face, and aim for a stud rather than trusting the lath.
Masonry, brick or block is the strongest and the fussiest. It wants a masonry bit, a wall plug and, on hard brick, a hammer drill. Do not attempt it with a wood bit and enthusiasm: the bit stops cutting almost immediately, the hole goes nowhere, and the temptation is then to give up on the anchor entirely, which is precisely the outcome the whole exercise exists to prevent.
| Wall type | What the screw goes into | What to watch |
|---|---|---|
| Plasterboard on timber studs | The stud, found with a stud finder and marked | Cables run vertically from sockets and switches |
| Plasterboard, no stud in reach | A rated plasterboard fixing, as shipped in the carton | A plain screw in bare board holds nothing worth holding |
| Lath and plaster | A stud behind the laths, drilled with a small pilot first | The plaster face crumbles if you drill fast |
| Brick or block | A wall plug set with a masonry bit | A wood bit will not cut it, and a hammer drill often earns its keep |
Fixing the bracket to the furniture
The wall is half the job. The bracket also has to grip the case, and on engineered wood board that means driving into the panel rather than into the thin back sheet. The back panel keeps the case square and holds nothing structural; a screw through it alone will tear out under the first real load.
Fix into the top panel or the upper side panel, wherever the sheet directs, and keep the strap or bracket as close to horizontal as the geometry allows. A strap pulled tight at a steep angle transfers less of the force you actually care about, which is the forward one.
Then leave a small amount of slack rather than winching the case against the wall. The anchor is a restraint, not a clamp. Its job is to stop the piece rotating forward, and it does that best when it is snug and straight rather than under permanent tension.
The order matters more than people expect
Anchor before loading. This sounds like fussiness and is the opposite: reaching behind a fully loaded seventy-five inch case to hold a bracket in place is genuinely difficult, and doing it alone is how the job gets abandoned. Empty, the case can be walked away from the wall by one person, fixed, and walked back in five minutes.
The same order applies to the rest of the build. Level the piece first, because shimming after anchoring means loosening the anchor again. Then anchor. Then load, from the bottom shelf up, with the heaviest things low. The assembly notes put this in the sequence of a whole afternoon.
Moving house with anchored furniture
A house move is where anchors quietly disappear, because the case comes off the wall at one end and never goes back on at the other. The habit that prevents it costs nothing: when the bracket comes off the wall, unscrew the wall end only and leave the furniture end attached to the case. The hardware then travels with the piece it belongs to instead of into a box of miscellaneous screws.
At the new address the anchor step happens at the same point in the sequence as it did the first time: after the piece is standing and levelled, before it is loaded. It is genuinely easier the second time, because the bracket is already on the furniture and the only new question is where the studs are in the new wall.
The same applies to moving a piece from one room to another within a house, which happens far more often than a move and gets even less thought. Furniture that changes wall changes anchor. There is no version of this where the fixing stays behind in the old room and the piece is fine.
Renting, and the objection that comes with it
The most common reason we read for skipping the step is a tenancy: two screw holes in a wall that has to be handed back. It is a real concern and it has a small answer. An anchor is two holes the size of a pencil lead, filled with a thumb of filler at move-out and invisible once dry. Set against the alternative, that is not a close call.
Where a lease is genuinely strict, the conversation with a landlord is a short one and rarely goes badly, because the request is to make the property safer at the tenant’s expense. What does not work is the improvised substitute: furniture wedged against a bed, or a case placed so a wall is theoretically in the way. Neither restrains a piece that rotates forward, and both give a household the feeling of having addressed the problem, which is worse than knowing it is unaddressed.
Two anchors, and when one is not enough
A single anchor restrains a narrow case perfectly well. A wide one wants two, spaced toward the outer thirds of the top panel, because a piece that is fixed in the middle can still rotate about that fixing if the load is off to one side. Our wide sideboards and triple-width cube walls ship with the fittings for two for exactly that reason.
The same reasoning applies to a pair of cases standing side by side. Two separate anchors, one per case, rather than a single fixing and an assumption that the neighbour will hold. Furniture pushed together looks like one object and behaves like two.
Where a piece sits on carpet, the anchor matters more rather than less. A thick pile lets the front feet sink slightly, which tilts the whole case forward by a degree or two before anybody has touched it, and a degree of forward lean is exactly what an anchor exists to absorb.
What the fittings in the box actually are
Anchor hardware comes in three common shapes and it is worth knowing which one is in your carton. A strap kit is a length of webbing or steel with a bracket at each end, one screwed to the furniture and one to the wall. An L-bracket is rigid and screws directly between the two. A cable-and-eyelet kit is the same idea with a short steel cable and a little slack designed into it.
All three do the same job when fitted properly, and none of them does anything at all when fitted only to the thin back panel of a case. That is the single failure mode worth repeating: the fixing has to reach real panel or real wall at both ends. A strap screwed to backing board and a wall plug in bare plasterboard is two fixings that both look right and neither of which is load-bearing.
If a carton arrives without the fittings, or a piece was inherited without them, a furniture anchoring kit is inexpensive and universally available. The commission’s campaign page lists what the job takes: the kit, a drill and bit, a screwdriver and a stud finder.
What to check once a year
Anchors are not fit-and-forget forever, though close to it. Once a year, or after any house move, put a hand on the top of each anchored case and try to rock it gently. Nothing should move. If something does, the screw has loosened in the panel, the wall fixing has worked loose, or the strap has stretched, and all three are five-minute fixes when caught early.
The same check is worth doing after any change in the room: a piece moved to a new wall, a case reloaded top-heavy after a clear-out, a new child in the house who has just learned to climb. Rooms change faster than furniture does.
The television, which is its own problem
The commission’s campaign covers televisions alongside furniture, and the combination is worth its own paragraph because so many homes create it by accident. A television standing on a dresser or a wide sideboard puts a heavy, top-mounted, easily grabbed object at the exact height that makes a tip-over worse. The furniture may be anchored and the television not, which leaves the most attractive handle in the room unrestrained.
The answer is the same tool twice: the case anchored to the wall, and the television anchored to the case or to the wall behind it. Television anchor straps ship with most sets and cost very little separately, and the job is the same ten minutes.
Where a room allows it, a wall-mounted television removes the problem rather than restraining it, and the surface underneath becomes storage rather than a plinth. That is often the better answer in a family room, and it is worth considering before a sideboard is chosen for its top rather than its inside.
What good looks like when it is finished
A properly anchored case gives nothing when a hand pushes the top. Not a creak, not a millimetre. The strap or bracket sits roughly horizontal and roughly slack, the wall screw is in a stud or in a rated fixing, and the furniture end is screwed into structural panel rather than backing board.
It should also be invisible from the front, which is the reason it photographs so badly and gets skipped so often. Nobody walking into the room will know the step happened. That is the whole point: the best outcome of this ten minutes is that nothing ever happens, and nobody ever thinks about it again.
Why this is on a shop’s website
The anchoring step sells nothing. It takes ten minutes, it uses a bracket worth pennies, it photographs badly, and it is the only part of a build that has anything to do with whether a tall piece of furniture is safe in a home with children in it.
A catalogue is a series of choices about what to put in front of a reader and what to bury, and the honest test of one is what it does with the step that helps nobody sell anything. Ours puts it in the same place every time, in the same words, on every page where a floor-standing piece appears.
So it stands on every product page across the FOTOSOK shelves as a fixed line, ships as a numbered step in the sheet inside every carton, and gets a full article of its own here. The measuring that comes before it is in the measuring notes, and the sources behind every safety statement above, with the dates we read them, are listed on our routine page.
