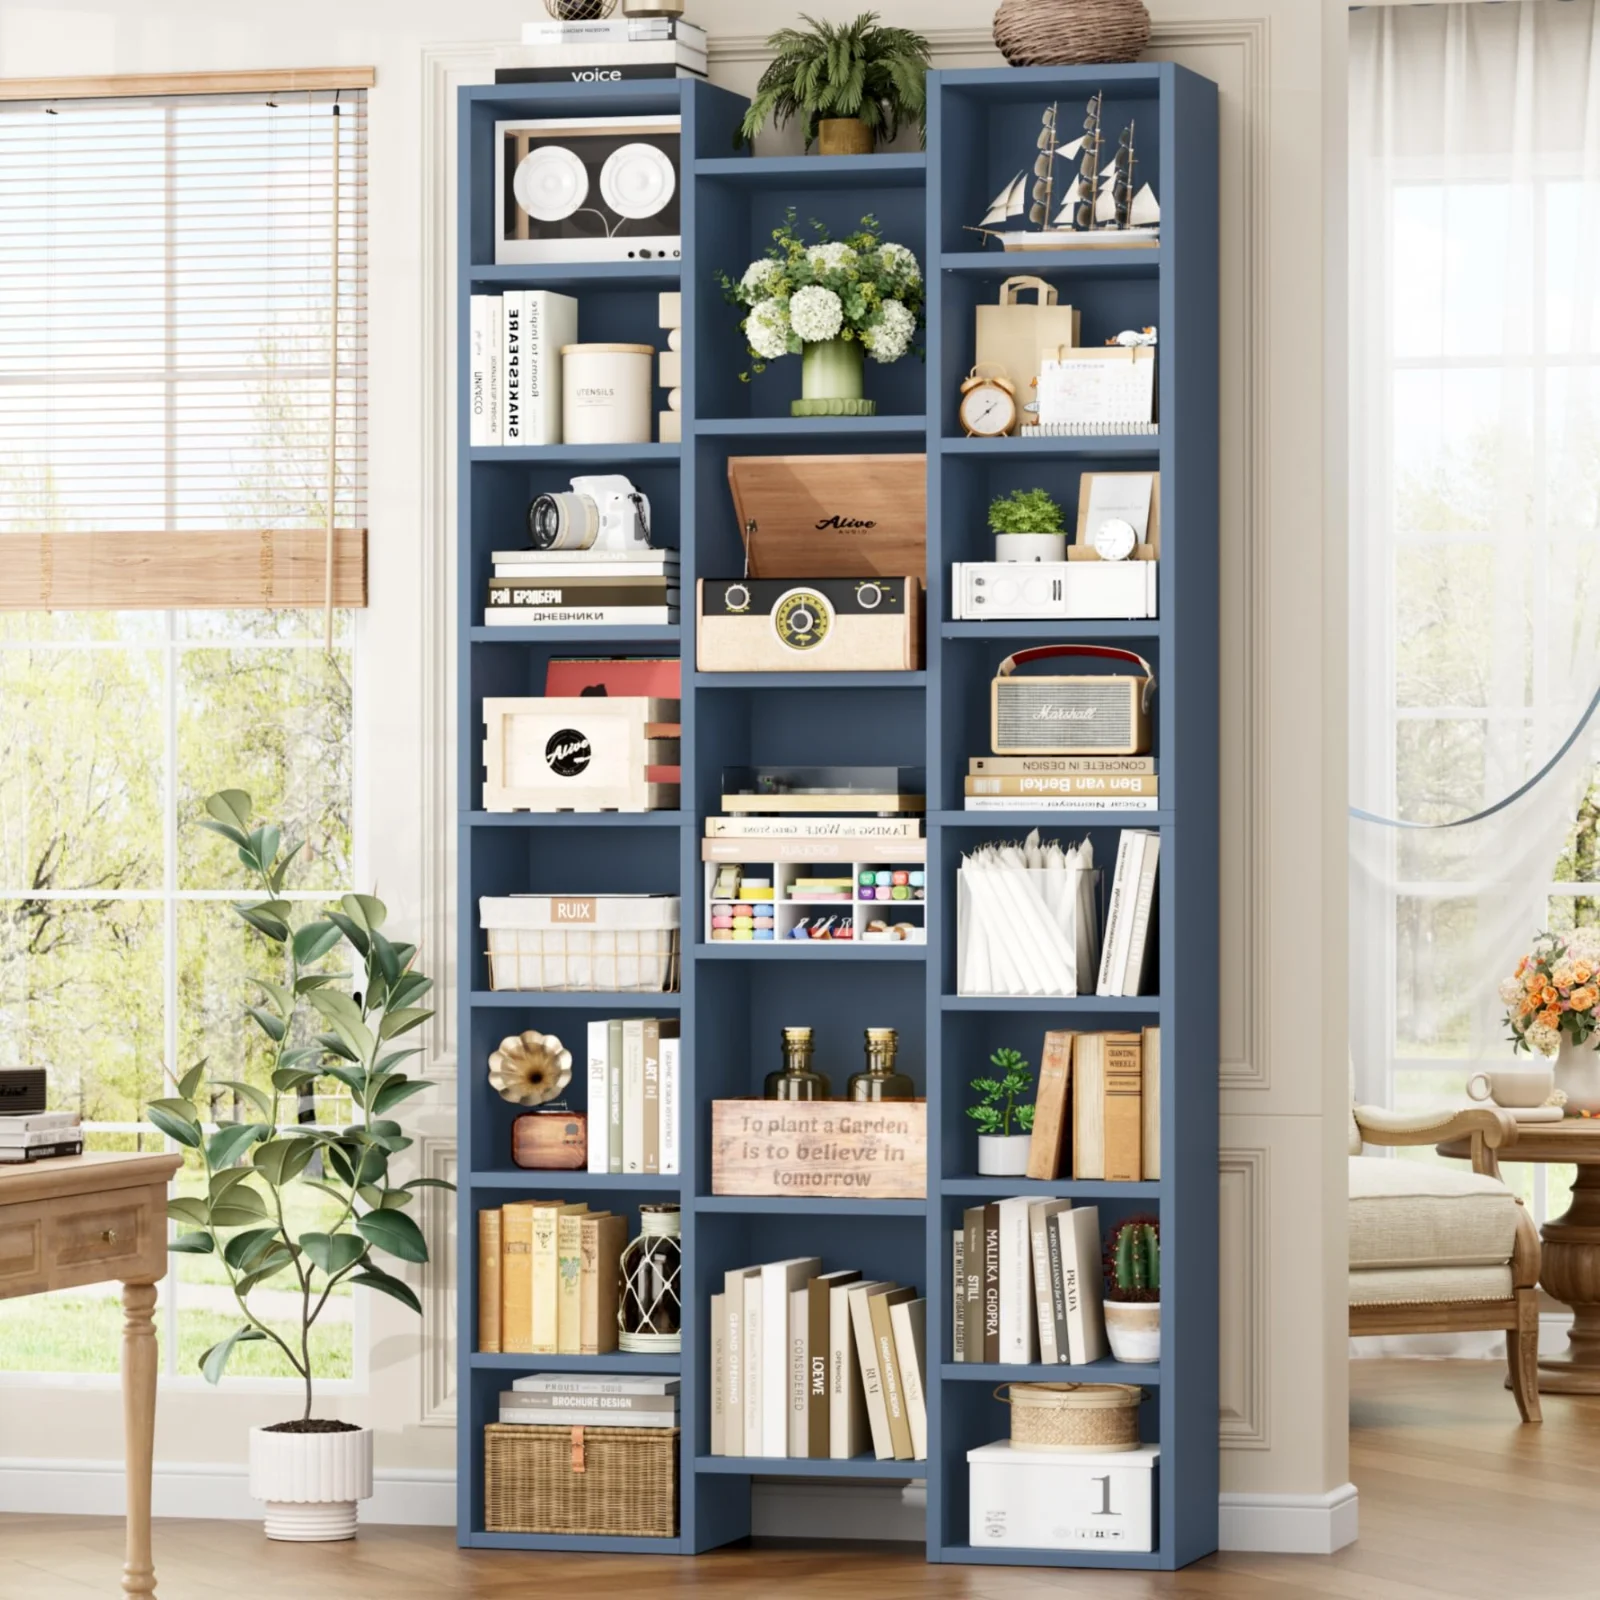
Anything in this catalogue that stands on the floor with drawers, doors or shelves belongs anchored to the wall. The consumer safety commission has campaigned on that single sentence for a decade, an anchoring kit ships with these pieces or costs very little separately, and the step takes about ten minutes with a drill and a stud finder. Follow the assembly instructions that come in the carton, and treat the anchor as part of the build rather than an optional extra.
The tape measure is the cheapest tool in this whole subject and the one most often left in the drawer. A bookcase gets chosen from a photograph, arrives in a carton, goes together on a Saturday afternoon, and only then meets the wall it was bought for. Sometimes the meeting goes well. When it does not, the failure is almost never the furniture: it is that four numbers were never written down.
We build storage furniture and read what buyers write about it week after week, and the returns that hurt most are the ones where nothing was wrong with the piece. It was two inches too tall for the sloping ceiling, or it covered a socket, or it left a walkway too narrow to pass with a laundry basket. Every one of those was knowable in fifteen minutes with a tape and a scrap of paper. Here is the fifteen minutes, written out.
Number one: the height at the actual spot
Ceilings are not level and floors are not flat, so measure the height where the piece will stand rather than in the middle of the room. Run the tape from the floor to the ceiling at the exact spot, then at a point a foot to either side, and take the smallest of the three. Old houses in particular will surprise you by an inch across a single wall.
Then subtract the things that live above the furniture line: a picture rail, a sloping ceiling under a stair, the arc of a door that swings inward, a curtain track and its bracket. What is left is your working height, and it is usually two to four inches less than the number a bare ceiling measurement suggests.
Against that figure, read the heights on our cards. Our tall cases run to seventy-one, seventy-two and seventy-five inches, chosen because they clear a standard eight-foot ceiling with air above the top shelf. A piece that fills the height exactly is a piece that reads as a partition; leaving four to six inches of wall visible above it is what makes the same case read as furniture.
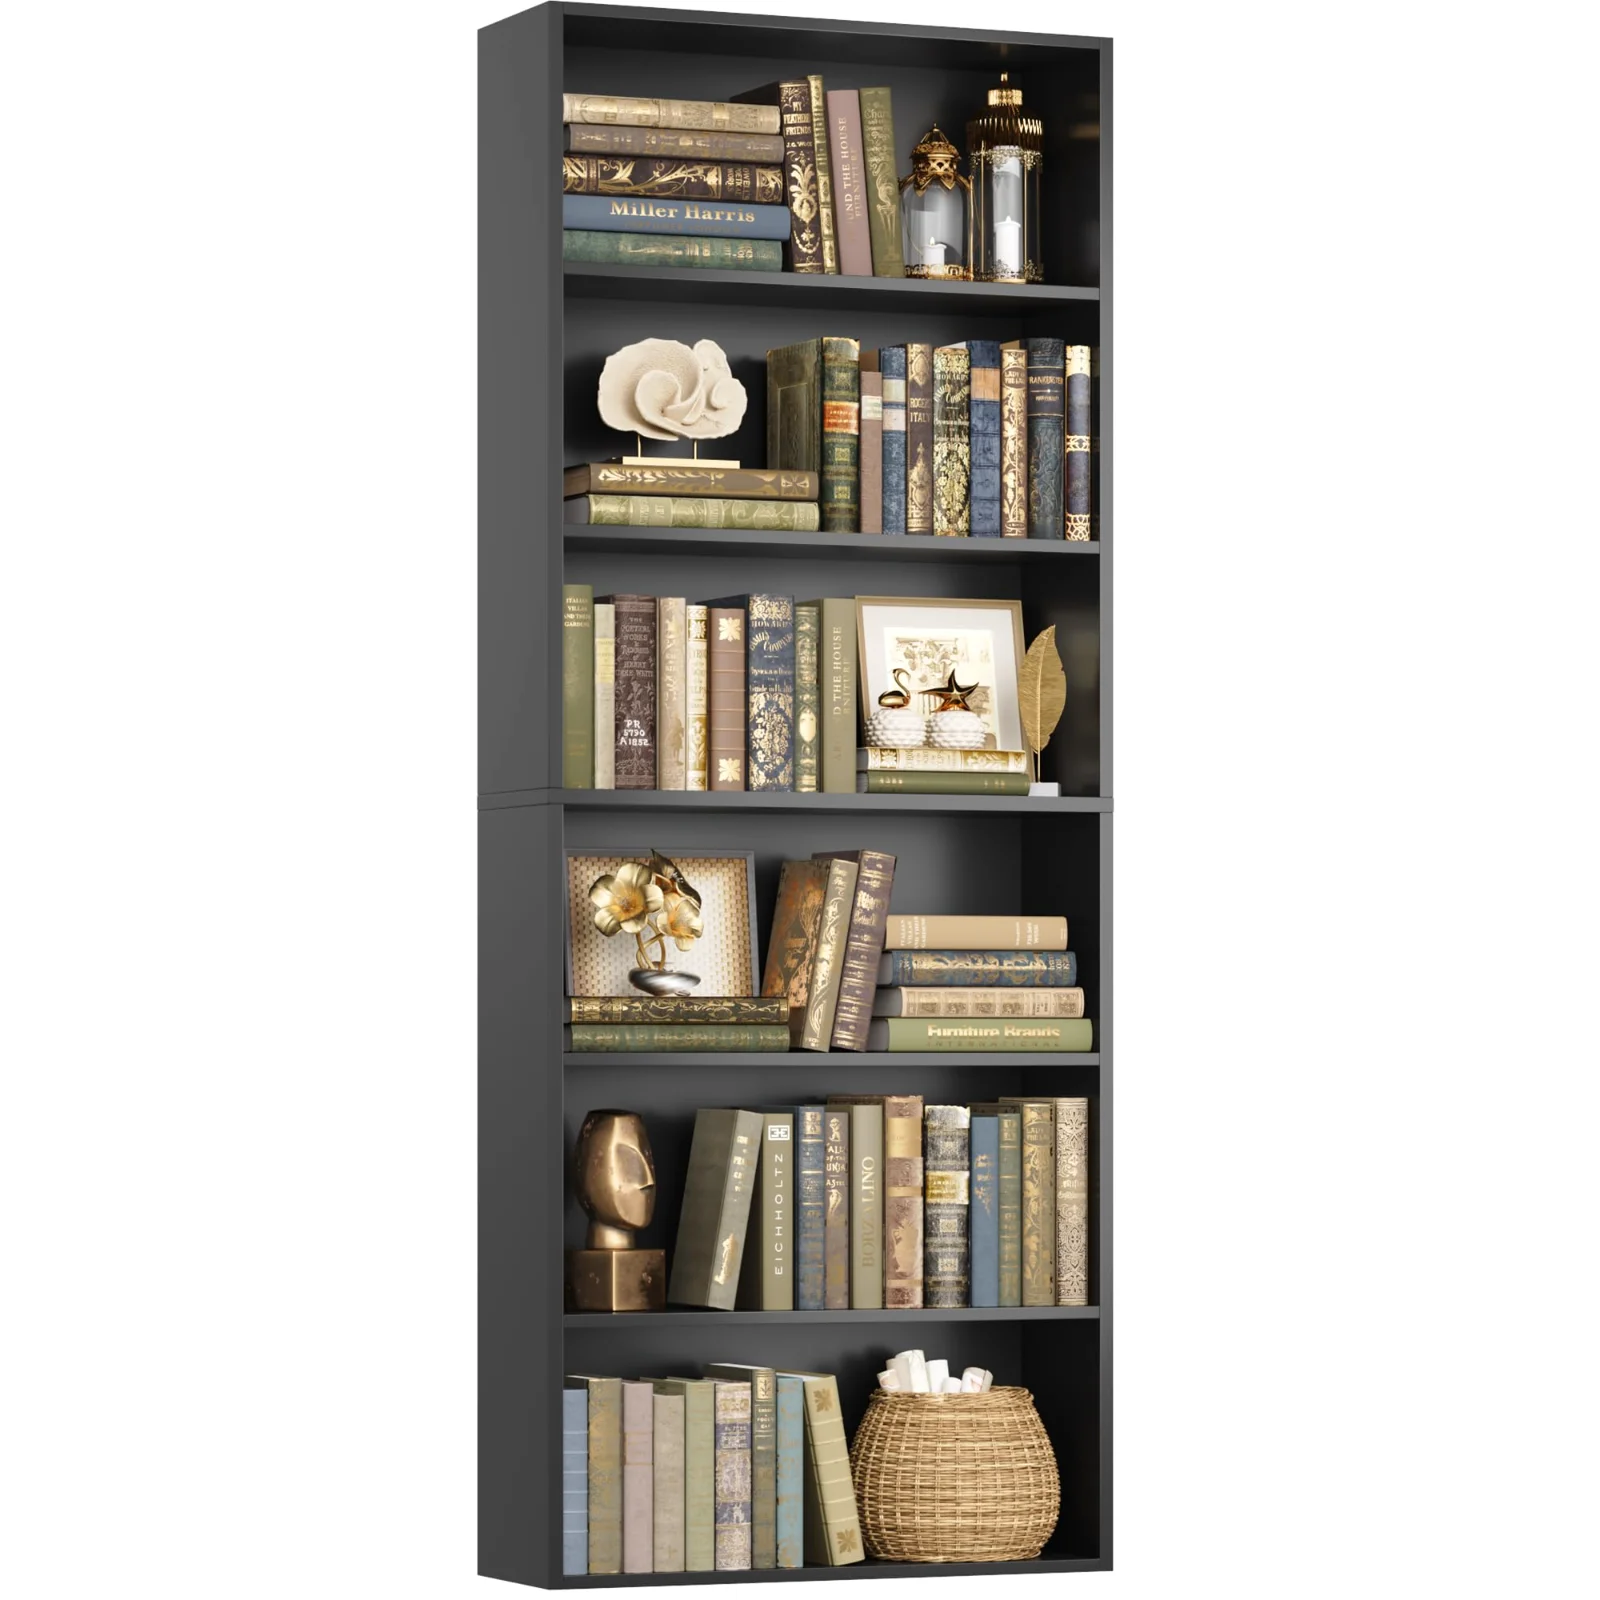
Open Bookshelves, 6 tiers, Black
Open Bookshelvesin 6 finishes
★★★★★ 4.5 · 1,781 family reviews
Number two: the width the wall actually offers
Width is the easiest measurement to take and the easiest to misread, because a wall is rarely as wide as it looks. Measure at the height the piece will occupy, not at eye level: a radiator, a window reveal or a run of skirting can narrow the usable strip considerably at knee height while leaving the wall above it clear.
Then subtract the obstacles that a tape does not naturally notice. A socket you intend to keep reachable. A light switch. The swing of a door, which needs its full arc and not just its closed width. A radiator, which wants air in front of it whatever the furniture would prefer. Write the remaining figure down as your working width and, from our own returns reading, take one further inch off it for the trades of getting the piece into position. Two people manoeuvring an assembled cabinet need that inch, and so does anyone who will ever want to clean behind it.
A sixty-three inch sideboard against a sixty-four inch wall is arithmetic that works on paper and fails in a dining room. The same sideboard against a sixty-eight inch wall sits comfortably and looks deliberate.
Number three: the walkway you will be left with
This is the measurement almost nobody takes, and it is the one that decides whether a room feels finished or crowded. Measure the floor from the wall you are furnishing to whatever is opposite: a bed, a sofa, the far wall. Subtract the depth of the piece you are considering, plus the half inch it will stand proud of the wall because of the skirting board.
The number left over is the walkway, and it has thresholds. Below about thirty inches a route stops being comfortable to walk with something in your hands. Below twenty-four it stops being a route at all and becomes a gap you edge through sideways, which is the point at which a room quietly starts annoying the people who live in it.
Depth varies more across storage furniture than people expect. A narrow media tower runs around eleven inches deep because a disc case is about five and a half and the shelf needs a little air. A bookcase built for hardbacks needs closer to twelve. A sideboard or a dresser is deeper still, because a drawer that is not deep enough to hold folded clothes is a drawer nobody uses twice. Choosing a shallower piece is often the difference between a route and a gap, and it costs less than moving the bed.
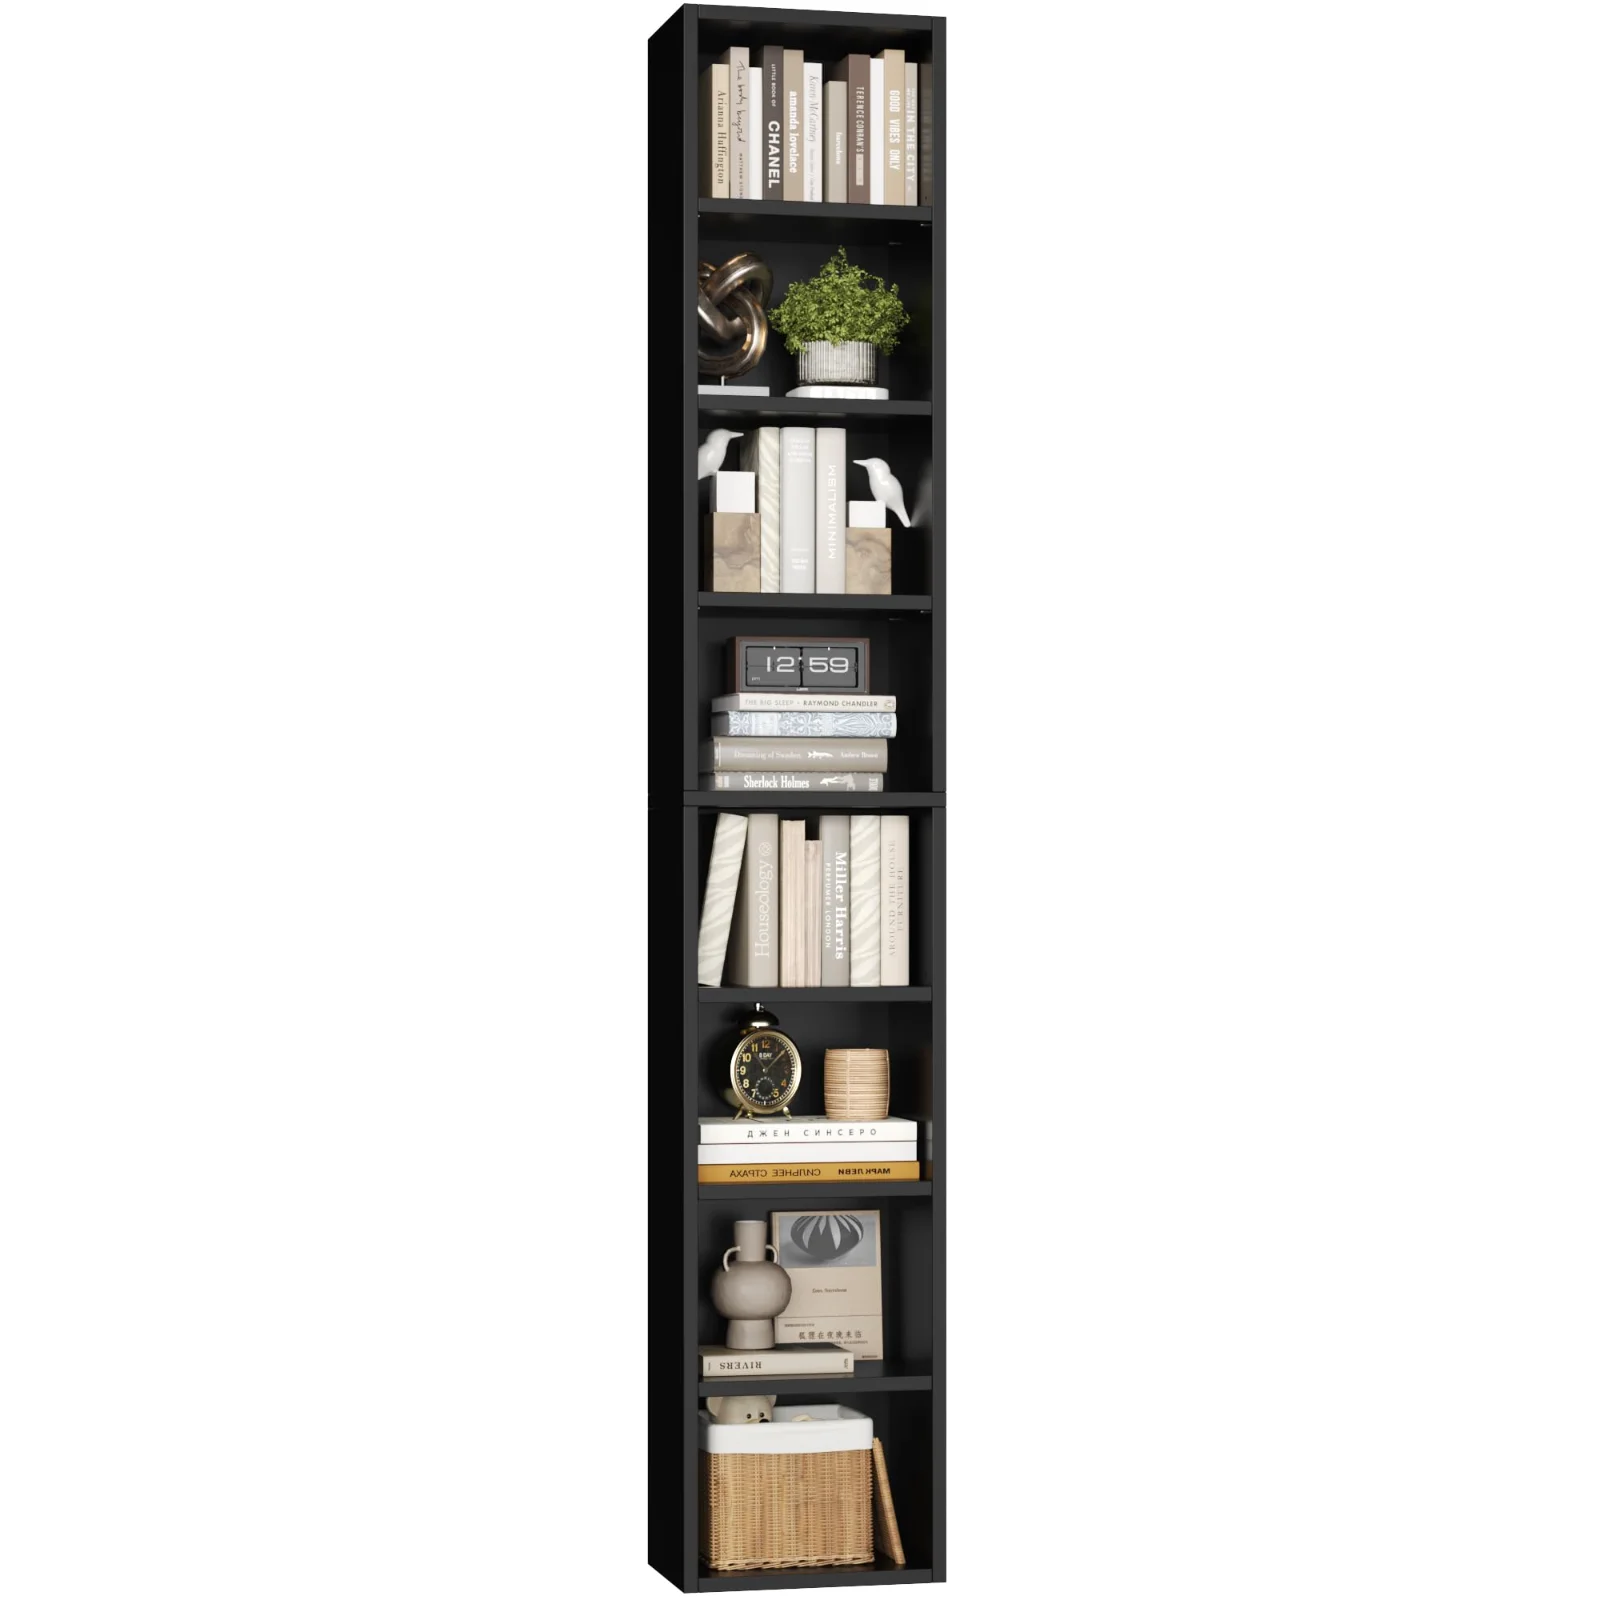
Media Tower Bookshelves, 8 tiers, Black
Media Tower Bookshelvesin 5 finishes
★★★★★ 4.5 · 1,310 family reviews
Doors, drawers and the room they borrow
A cabinet occupies more room than its dimensions when it is in use, and the difference lives in front of it. A drawer needs its own depth again to open fully, so a twenty-inch-deep dresser wants forty inches of clear floor at the moment somebody is actually looking for a jumper. A hinged door needs the arc of its own width. A sideboard with four doors along its front needs that arc four times over, in four places.
This is where the walkway measurement and the width measurement meet each other. A dining sideboard that leaves a comfortable walkway when closed and blocks it entirely when a door is open has not solved a storage problem, it has moved it to the moment of use. Where the room is genuinely tight, the answer is usually a piece with drawers rather than doors, or sliding rather than hinged, because a drawer borrows floor only from directly in front of itself.
Wall-mounted pieces sidestep the problem altogether, which is why the mirrored bathroom cabinets and the kids wall shelves in this range exist. They borrow no floor at all, and in a small bathroom that is often the whole design decision.
Number four: the tallest thing you actually own
A tier count is not a feature, it is a proxy for spacing, and spacing decides whether your things fit. The arithmetic is simple enough to do in your head: divide the height by the number of tiers, subtract the thickness of a shelf, and you have the clear height per shelf.
Six tiers in a seventy-one inch case gives roughly eleven inches of clear height per shelf. That takes a hardback upright, a box file, a photograph frame lying flat. Eight tiers in the same height gives about eight and a half inches, which is a disc collection, a row of paperbacks or a wall of small storage boxes, and will not take a hardback at all.
So before comparing finishes, measure one thing: the tallest object you actually intend to shelve. Not the tallest you might one day own, the tallest currently sitting in a pile waiting for somewhere to live. Read the tier count against that measurement, and half the catalogue eliminates itself before the colour conversation starts.
| Measure | How to take it | The failure it prevents |
|---|---|---|
| Working height | Floor to ceiling at the exact spot, minus rails, slopes and tracks | A case that covers a window or reads as a partition |
| Working width | Wall at the piece height, minus sockets, door swing and radiator, minus one inch | A sideboard that meets a socket before it meets the corner |
| Walkway left | Floor to the opposite object, minus the depth of the piece and half an inch for skirting | A room that technically fits and cannot be walked |
| Tallest item | Measure the actual object, then divide case height by tier count | Eight tiers of shelving that will not take a hardback |
Two pieces on one wall, and the gap between them
Furnishing a wall with two pieces rather than one is common and slightly harder, because the arithmetic gains a variable. Two sixty-inch bookcases against a wall are not one hundred and twenty inches of furniture: they are that plus whatever gap sits between them, and the gap is a design decision rather than an accident.
Pushed tight together, two identical cases read as a single wall of shelving, which is usually what people want and which needs the wall measured to the inch. Separated deliberately by a foot or more, they read as two objects with a space between them, which suits a room where something else belongs in the middle, a radiator, a window, a chair. What almost never works is the small accidental gap of two or three inches: too narrow to be intentional, too wide to disappear, and a permanent dust trap.
So decide which of the two you want before ordering, and measure accordingly. Our pieces that come as a set of two exist for the first case and are drawn to sit flush, which is why the set is listed at a combined width rather than as two separate pieces.
The awkward corners, and what they are worth
Two shapes of room come up again and again in what buyers write, and both have a specific answer. The first is the corner: the one angle in a room that furniture normally wastes. A corner unit turns that dead angle into the most used shelving in the room, but it needs both adjoining walls measured, because a corner piece occupies a triangle and its widest dimension runs diagonally.
The second is the stairwell wall with the sloping ceiling. Measure at the lowest point the piece will occupy, not at the highest, and remember that a narrow tall case is exactly the shape that suits it: eleven inches of depth barely narrows a landing, and a media tower is happier there than in a living room where it competes with a sofa.
Measuring for a child rather than for yourself
A kids room reverses one of the four numbers. Height stops being about clearing a ceiling and becomes about reach: a shelf a child cannot reach is a shelf a parent tidies. The working figure is the child’s shoulder height, not their full height, because putting something back onto a shelf above shoulder level is genuinely hard for small arms.
That is why the kids pieces in this range run low and wide where the adult bookcases run tall and narrow. It is also why the sling pockets exist: a picture book stored spine-out on a normal shelf is invisible to a four-year-old, while the same book face-out in a sling is chosen and put back without help. Measure the child, not the wall, and the shortlist for that room writes itself.
The one number that does not change is the anchor. A low, wide, child-height piece is exactly the shape that gets climbed, and everything the guidance says about fixing furniture to a wall applies to it with more force rather than less.
Where the doorway measurement hides
One measurement gets taken last and belongs first: the route from the front door to the room. Flat-pack solves most of this by arriving as panels, and it is the quiet reason the format exists at all. But cartons are long and stairwells turn, so the number worth knowing is the diagonal of the tightest turn on the route rather than the width of any doorway.
The practical version takes two minutes: walk the route, and at every turn note the narrowest gap. A tall bookcase carton is roughly the height of the finished piece and a few inches thick, which turns most corners easily. An assembled sideboard does not, which is the trade being made when anyone chooses a delivered-whole alternative.
The floor is not flat, and that is normal
Every room has a slight fall in the floor, and a tall case reveals it immediately: it stands proud on one side and rocks. This is not a fault in the furniture and it is not something to live with either. Check the floor with a spirit level before assembly, and if it falls, shim the low side under the base panel before the piece is loaded rather than after.
A case that is level sits square, its doors close evenly and its drawers stay shut. A case that is not level will fight you for the rest of its life, and every fix is harder once the shelves are full.
Carpet deserves its own note here, because it hides the problem rather than solving it. A thick pile lets the front feet settle a little deeper than the back ones over the first few weeks, so a case that was level on installation day is not level a month later. Check it again after a month on carpet, and shim then if it has moved.
Then, and only then, the anchor
The last measurement is not about fit at all, and it is the one people skip while the tape is still in their hand. Before a floor-standing piece with drawers, doors or shelves is loaded, it belongs anchored to the wall. Our cartons ship the fittings for it and the sheet numbers it as a step; the consumer safety commission has campaigned on that one sentence for a decade, and the source is listed with the date we read it on our routine page.
Practically, this means one more thing to find before the build starts: the studs. A stud finder run along the wall at the height of the top of the case takes thirty seconds and tells you where the anchor screw can actually bite. Do that before assembly rather than after, because a fully loaded seventy-five inch bookcase is not a thing anyone wants to walk away from the wall in order to reach behind it.
The assembly notes walk through the rest of the build in order, and the anchoring notes take the wall fixing on its own terms, wall type by wall type.
Writing it down so it survives the week
Four numbers taken on a Tuesday and remembered on a Saturday are three numbers and a guess. Write them on one line, in one place that travels: the notes app on a phone, or a strip of paper in a wallet. Working height, working width, walkway left, tallest item, in that order, with the room named at the front.
Households furnishing more than one room should keep one line per room. It takes a minute each and it turns a whole season of furniture decisions into a lookup rather than four separate afternoons with a tape measure. It also settles arguments: two people remembering a wall differently is a common story, and the note ends it.
One more line is worth adding while you are at it: where the studs are. A stud finder run along the wall once, with the positions marked on the same note, saves the search later when the case is built and the anchor step arrives. That step is covered in the anchoring notes and it wants the information before assembly rather than after.
Fifteen minutes, and a much shorter list
Put the four numbers on a scrap of paper before you open a single product page. Working height. Working width. Walkway left. Tallest item. Then read the cards on the FOTOSOK shelves against those figures rather than against a photograph, and the shortlist usually collapses from thirty pieces to two.
The order of that sentence matters more than it looks. Reading the numbers first and the photographs second is a different activity from reading the photographs first and then checking the numbers, even though it sounds like the same one. In the first order the numbers decide and the picture confirms. In the second the picture decides and the numbers are looked at hopefully, which is how a case that does not fit gets ordered by somebody who did in fact measure the wall.
At that point the decision that remains is a pleasant one: which finish, in which room. That is the decision furniture shopping is supposed to be, and the only way to reach it is to do the unglamorous part first, with a tape measure, in the room itself, before anything is ordered.
